Mastering DIY Drywall Installation: A Comprehensive Professional’s Guide
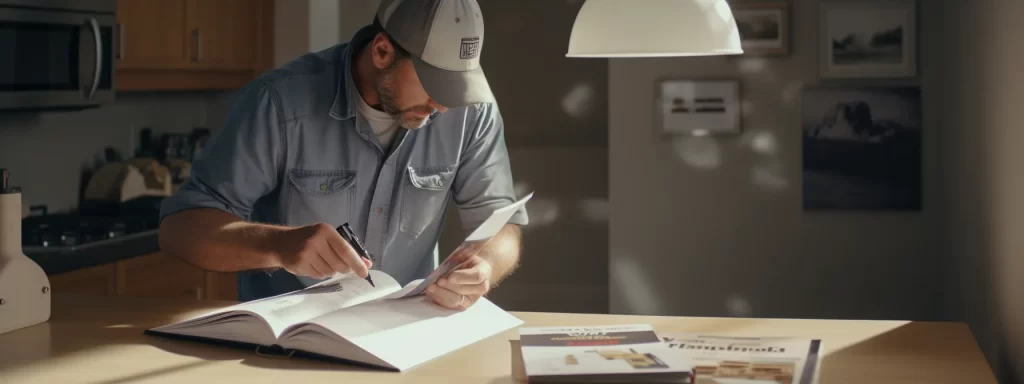
If you’re about to tackle a DIY project involving drywall or are simply curious about the process, you’re in the right place.
From measuring your walls to navigating around fixtures, and from choosing the right tools to mastering the art of taping, we’re going to unveil the tricks of the trade.
This comprehensive guide will cover every aspect of drywall installation like a pro would do it, saving you time and increasing your renovation efficiency.
Keep reading to discover the secrets behind cutting, shaping, hanging, and finishing your drywall flawlessly.
Understanding the Basics of Drywall

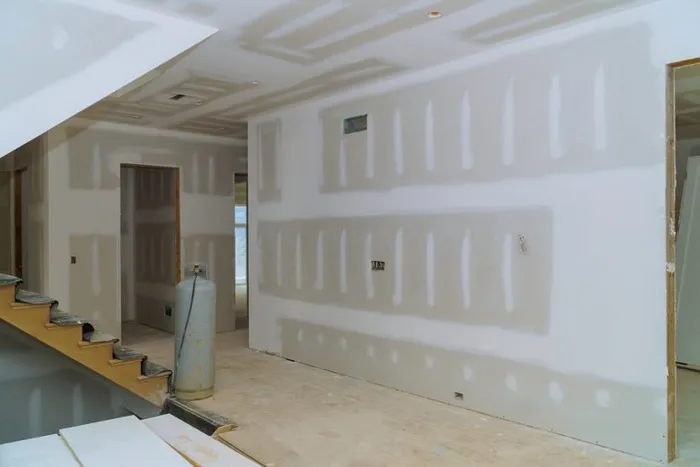
If you’re serious about tackling a drywall installation project, a grasp of the basics is a must. Drywall, often referred to as gypsum board or plasterboard, forms the fundamental building material for constructing internal walls or ceilings. It starts with measurements and continues with cutting, attaching, taping, and finishing the drywall sheet to create those smooth seamless surfaces we all appreciate.
Knowledge of tools and materials for the job is key. From saws and drills to taping knives, they all each play a specific part in the installation process. Drywall comes in different types, each with its specific purpose. Standard, moisture-resistant, and fire-resistant are among the choices and each with its place in a build or a remodel.
Learning how to handle these materials does require precision. You’ll need a utility knife for cutting the drywall, the fastener to securely attach the drywall panel, and then there’s the spackle, or joint compound, for filling in any gaps between the sheets. With all the necessary tools and materials for drywall installation, a project becomes less a task, more a craft.
Lastly, it’s about refining the process. Having your cutouts perfect, the screws flush with the drywall sheet and no screw head visible. The final result is a wall or ceiling panel of gypsum board that stands the test of time. It all begins with understanding the basic techniques, using the right building materials, and a little knowledge that you get from this guide, where you’ll find the steps on how to hang drywall successfully.
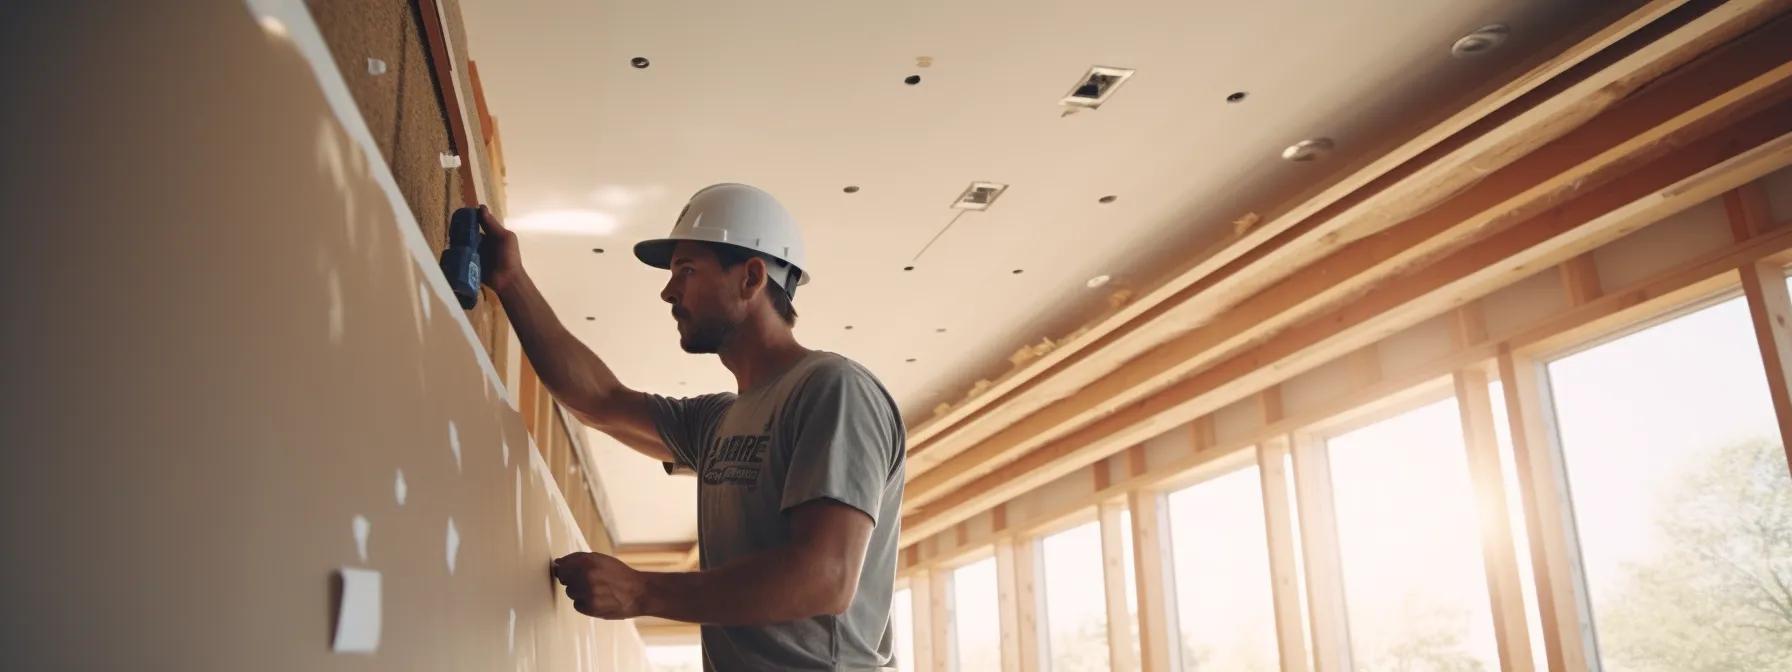
Essential Tools for DIY Drywall Installation

In the field of construction, and more specifically when installing drywall, the saying ‘the right tools for the right job’ holds true. A good starting point is a dependable utility knife. This versatile item is indispensable for cutting drywall sheets to the right dimensions, and for making precise cutouts needed around electrical outlets and switches.
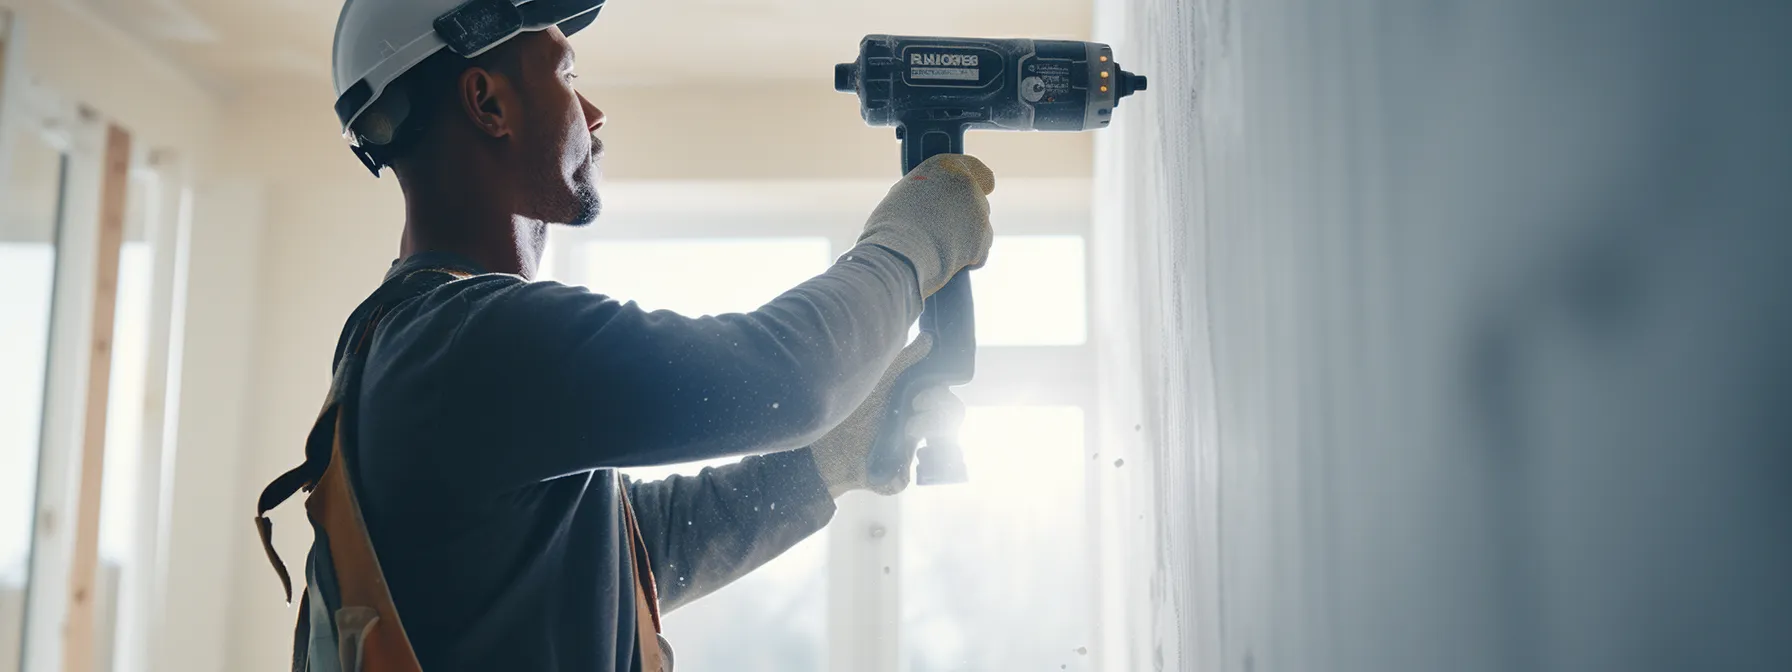
Next in line is a sturdy drill. This tool is the key to swiftly attaching the drywall to the joist with drywall screws. It reduces the manual effort and saves considerable time, providing a secure hold for the gypsum boards to the supporting framework of walls or ceilings.
On the list of essentials, the taping knives, and the joint compound cannot be bypassed. After the installation, using these items for taping along the joints of the drywall sheets brings the surface together. It’s a process that needs a careful hand and the right touch to make sure the joint tape lies flat, providing a seamless finish.
Finally, and equally important, is a reliable tape measure. During the planning phase and throughout the entire installation process, the tape measure is your trusted companion. It’s incredibly crucial for maintaining accurate measurements while marking chalk lines or deciding where to place a corner bead. With these tools, a drywall installation project goes from daunting to doable within your grasp.
Necessary Materials for Hanging Drywall
Let’s talk materials. First and foremost, we have the drywall panels themselves. Often referred to as sheetrock or gypsum board, these large, stiff sheets form the core of your wall or ceiling. Choose the right type based on your needs – be it standard, moisture-resistant, or fire-resistant.
Then we encounter an essential supporting cast, the fasteners. These drywall screws are specifically designed to securely hold your wallboard in place against the framing. Once set, these screw heads should lie flush with the surface, primed and ready for covering with a layer of joint compound.
Now, this brings us conveniently to the joint compound. Sometimes called spackle or ‘mud’, this material plays a vital role in creating smooth, seamless walls. Used with joint tape, it helps to fill and smooth over the joints between drywall sheets as well as over the screw heads. You then sand the dried compound to achieve smoothness worthy of a professional drywall installer.
Finally, don’t forget accessories like the corner bead for those outside corners, chalk line for precise markings, and a backer when greater reinforcement behind the drywall sheet is necessary. Like all good things, great drywall installation requires a suite of different components all working in concert. These materials, used correctly, produce a finish that’s both sturdy and pleasing to the eye.
The Step-by-Step Drywall Hanging Process

The first step in hanging drywall involves taking accurate measurements of your wall or ceiling using a dependable tape measure. Measure twice, cut once – it’s a mantra that will serve you well in any DIY project. You’ll be using these measurements to cut your drywall sheet to size with a utility knife, which ensures a precise fit.
Next, we place the cut drywall panel up against the framing. This is where the drills and drywall screws make their entrance. It’s a matter of aligning everything perfectly and using the right technique to ensure the screw head does not penetrate too deep into the gypsum. A little practice makes perfect here.
Now, you’re ready for taping and finishing. Apply a layer of joint compound over each seam, then immediately cover it with joint tape, smoothing it into the compound with a taping knife. The same process goes for covering the fasteners – just enough joint compound to hide the screw heads, but not too much so it becomes an overspill.
Finally, comes the finishing process. This is where we sand the drywall, smoothing out any rough or high spots left by the joint compound. Work your way around the room until all the walls are consistently smooth and you’ll be left with a professional-grade finish to admire. It’s that combination of patience, precision, and the use of right tools and materials that make your drywall installation project a success.
How to Measure Your Wall Accurately
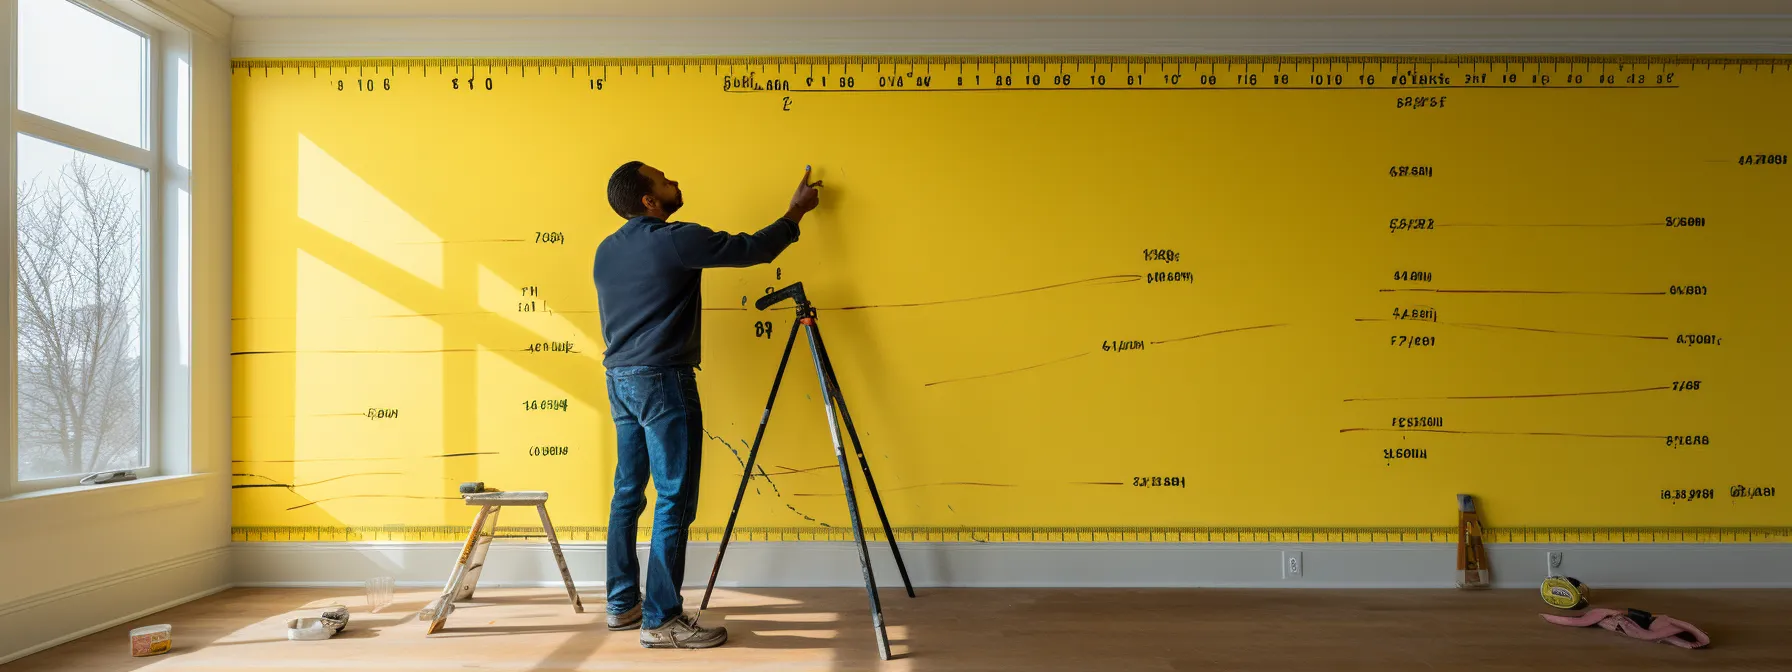
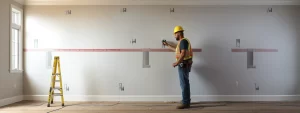
Let’s dive into the all-important task of measuring your wall for drywall installation. Accuracy is not just important; it’s critical. The starting point is your trusty tool, the tape measure. This is where everything begins; inaccurate measurements lead to unnecessary waste, and it’s far easier to measure twice and cut once.
Make sure to measure both the height and the width of your wall from one corner to another, jotting down your measurements as you go. Calculators come in handy at this stage. By getting the right measurements, you not only save on time but also on materials — you can avoid trying to hang drywall sheets that were intricately cut only to find they don’t fit because of faulty numbers.
The next step is marking your cut lines. Use a chalk line for accuracy, ensuring you have straight and level lines. Double-check those measurements before proceeding, it will make the installation process smoother and deliver the results you expect.
When you face situations with irregular dimensions or shaped areas, don’t be intimidated. Tackling these calls for a little more creativity and puzzle-solving, as you’ll need to cut your drywall in such a way that it fits perfectly. With the right calculations, accurate measurements, and a clear understanding of the process, you’re well on your way to acing the drywall installation.
Tips for Selecting and Purchasing Drywall
There’s more to choosing drywall than meets the eye. The decision-making phase starts with understanding that different types of drywall serve different purposes. Standard drywall is suitable for most interior walls, while moisture-resistant drywall, known as green board, is designed for areas like bathrooms or basements prone to dampness.
If you’re working on a project where fire-resistance is a key criteria, you’ll want to consider Type X drywall. This version is specially designed to slow the spread of fire, making it an ideal choice for garages, furnaces or utility rooms. Understand the purpose of each room and plan accordingly.
Once you’ve decided on the type of drywall you need, it’s time to figure out the quantity. This is where those accurate measurements you took earlier come in handy. Use them to calculate the total surface area of your walls and ceilings, keeping in mind that drywall comes in large sheets – often 8, 10 or 12 feet in length.
Another tip is to look for any apparent damage, cracks, or imperfections on the drywall sheets before making a purchase. Regardless if you’re shopping at a local home improvement store or placing an order online, taking this extra step can save both time and money in your project. Armed with a little bit of knowledge and careful planning, buying drywall can be a hassle-free experience.
Planning Around Windows, Doors, Outlets, and Other Fixtures
When planning your drywall installation, discerning where to place cutouts for windows, doors, and outlets becomes a key skill. These fixtures complicate the otherwise straightforward process of hanging large drywall sheets. The deployment of a utility knife to carve out precise cutouts is crucial to ensuring a seamless fit around these elements.
Start by taking accurate measurements of the location and size of each fixture on your wall. You’ll want to transfer these measurements onto your drywall sheet accurately. Mark the placement of each stud as well, as these will be your guide when installing the drywall panels.
The corner bead should be your focus when dealing with doors and windows. Once your drywall is cut and affixed, wrapping the corners of your fixtures with a sturdy corner bead provides added protection and grants your work a professional finish. This small addition can make a big difference to the overall look and feel of your remodeling project.
For outlets, switches, or other minor fixtures in your walls, always remember safety first. Make sure all power is switched off before work begins, and that wiring is temporarily pulled through the cutout in your drywall before it is securely attached. By keeping these tips in mind, you’ll navigate fixture obstacles in your drywall installation project like a pro.
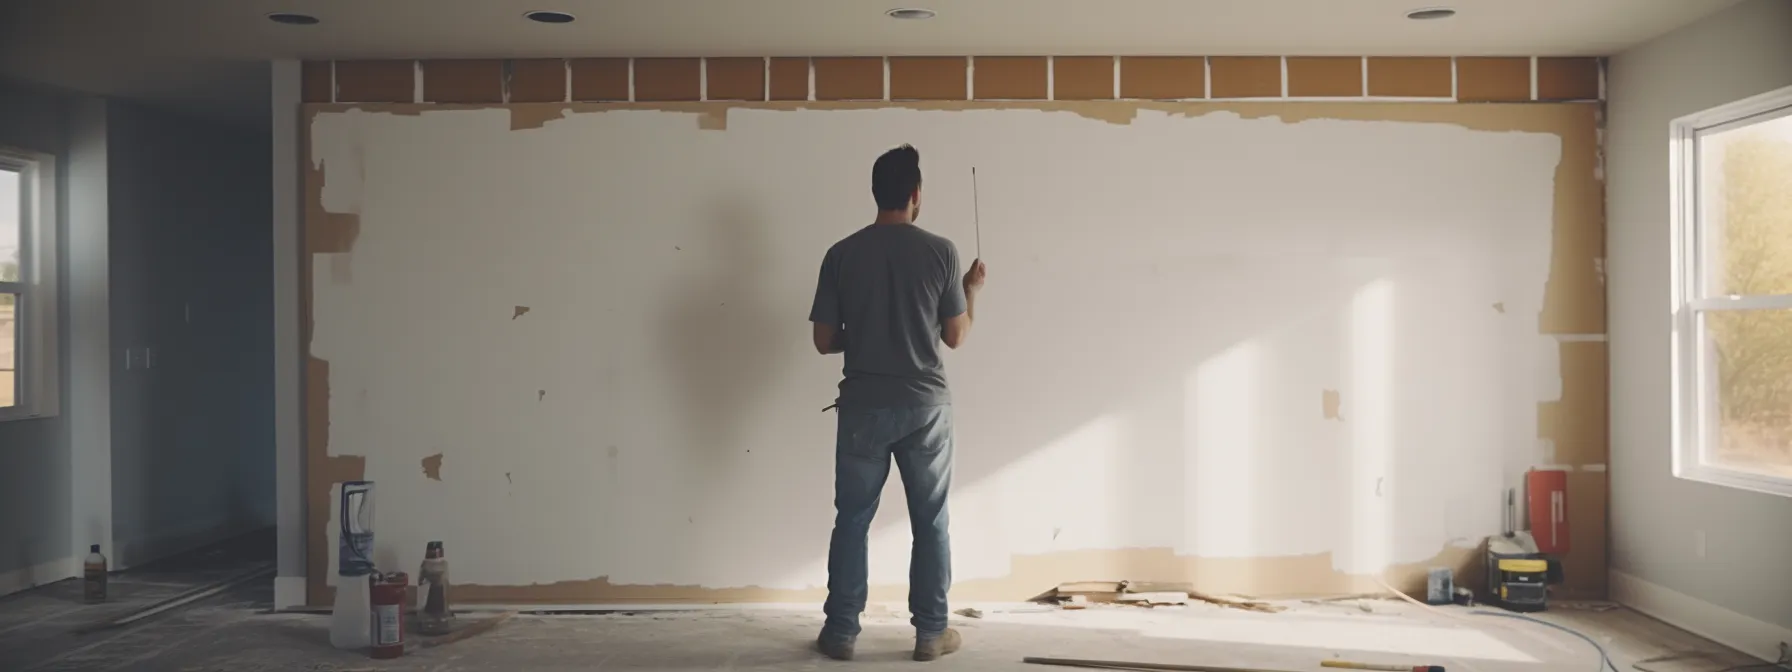
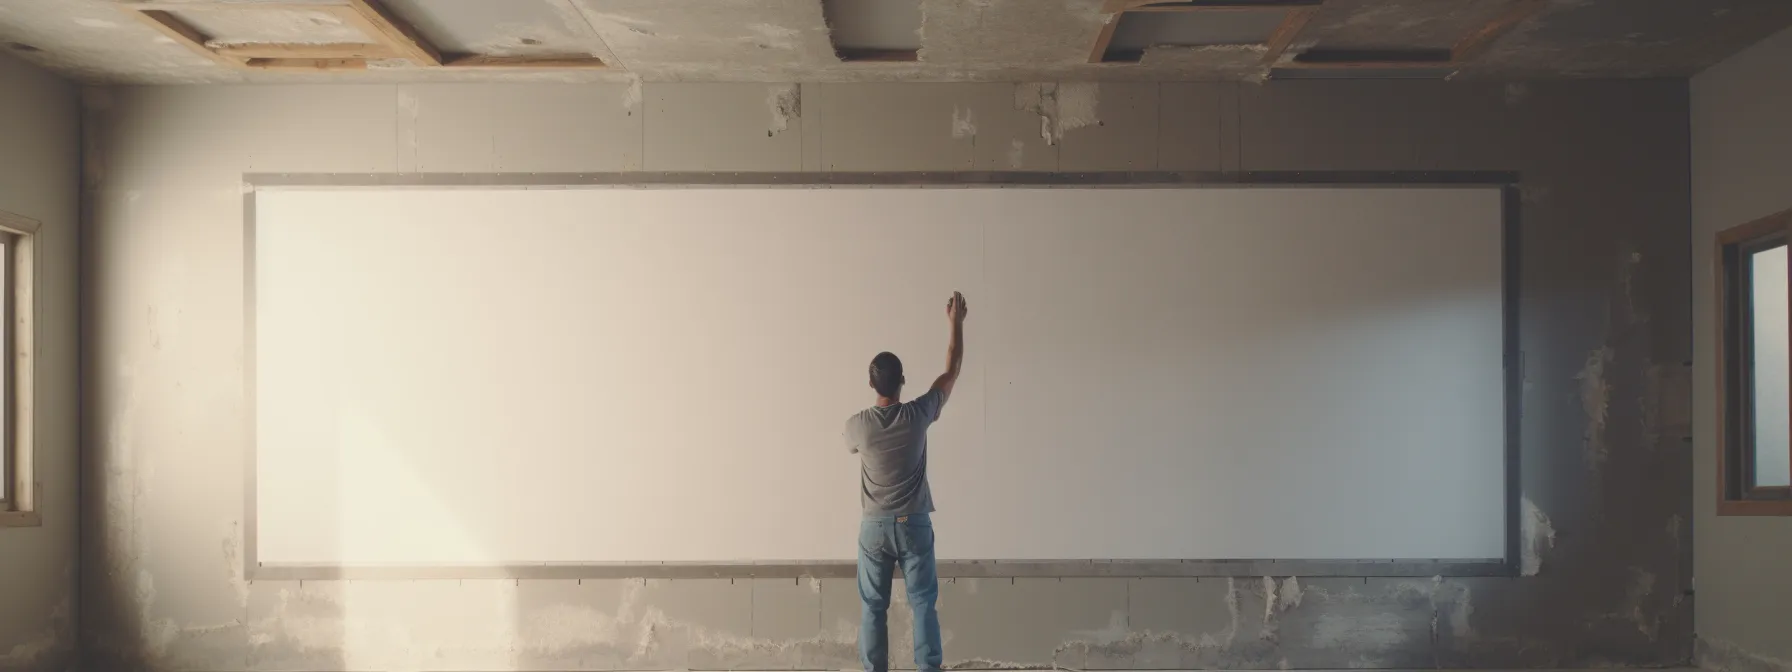
Hanging Drywall Sheets: A Pro’s Technique
When it’s time to hang your drywall sheets, the process may seem daunting, but a methodical approach coupled with a pro’s technique can make all the difference. Start from the top corner of one wall, and work your way around the room. Always hang your sheets vertically for walls, and always measure twice before you cut. The correct placement can minimize waste and make taping joints easier down the line.
For fastening the drywall, I recommend a dependable drill and drywall screws. Start from the middle of your panel and work your way out towards the edges to prevent any potential buckling or warping of the drywall. Keep in mind the need for screw heads to be slightly dimpled, but not so deep that it breaks the paper surface of the drywall. This creates a space for the joint compound and ensures a smooth finish.
Use a utility knife to cut out any features, such as windows or outlets, starting from one corner and cutting towards the other. Be careful to keep the cutouts precise, as ill-fitting drywall around these fixtures can be noticeable. Remember, the key to a pro’s aesthetic is the perfect blend of precision, patience, and practice.
Last, but not least, don’t forget to check the alignment of all drywall panels as you go. Use a spirit level to ensure your sheets are fitting flush and aligned properly on the wall. If you encounter any problems with the position, make the necessary adjustments before you proceed further. This attention to detail in the hanging process is part of what takes your drywall installation from just a task to a skillfully completed project.
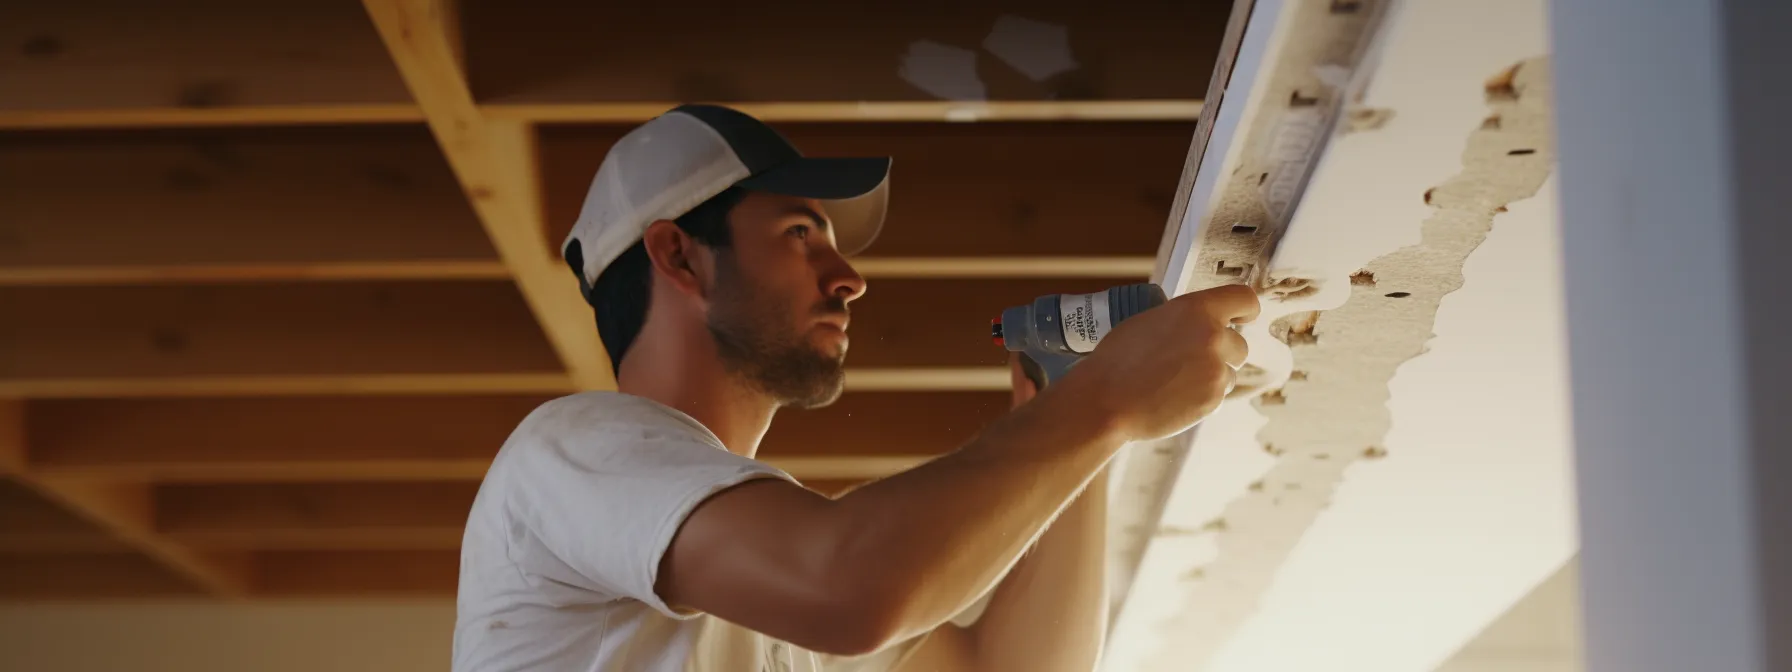
How to Drive Screws Into Drywall Correctly

Driving screws into drywall might seem straightforward, but doing it correctly is what distinguishes a pro’s work. Firstly, choose the right fastener – drywall screws are specifically designed for this task. They provide a strong hold between the gypsum board and the framing, creating a secure and sturdy wall.
Use a reliable drill for this job. Start by positioning the screw on your marked spot and apply gentle pressure to create a guiding hole. It’s essential not to rush at this stage; you want the screw to go in straight and secure, not at an angle which could potentially damage the drywall or interfere with your project’s integrity.
The depth at which you drive the screw is crucial. The goal is to have the screw head lying just below the surface of the drywall, creating a slight dimple. This is often referred to as ‘dimpling’. However, be cautious not to drive the screw too deep as it could tear the paper, compromising its hold on the panel.
With a strong focus on these details, you can drive screws into drywall correctly. It’s about patience and precision, finding that sweet spot where the screw head meets the paper. As you master this part of the process, you’ll be one step closer to achieving a beautifully smooth, professional-grade finish for your drywall installation.
Mastering the Art of Drywall Taping
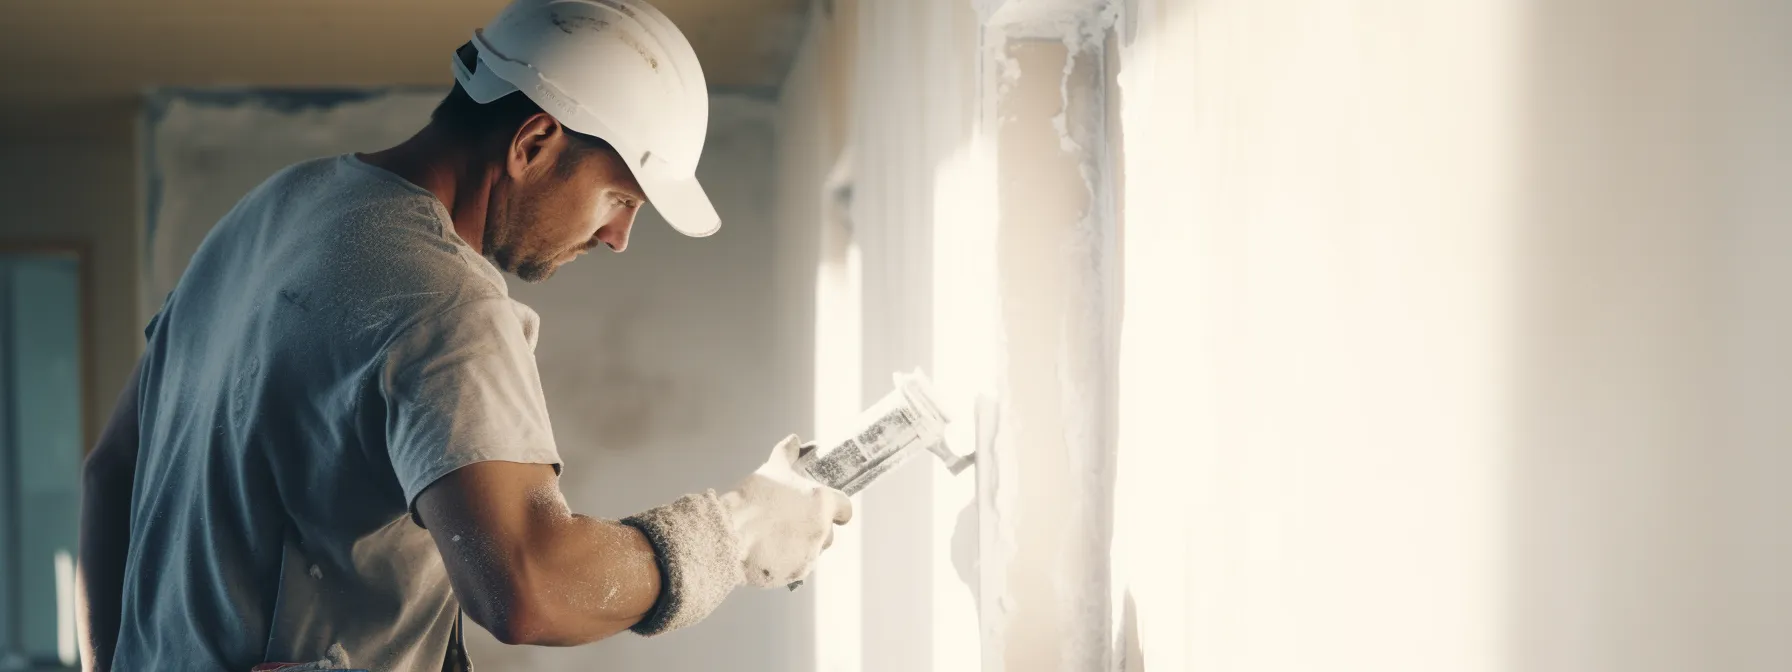
The process of taping is like an art to any drywall project. This stage involves applying joint compound, commonly referred to as ‘mud’, along the seams between the installed drywall sheets, followed by laying joint tape over the top. This process helps smooth out seams and any visible screw heads, creating a uniform surface.
Starting the taping process, you’ll need a taping knife and a fresh bucket of joint compound. Apply a thin rope of compound over each drywall seam. The goal at this stage isn’t perfection, but rather to ensure there’s enough ‘mud’ to hold the joint tape securely.
Next, apply the joint tape directly onto the fresh compound, using your knife to press and smooth the tape into the compound. It’s essential to work out any bubbles or folds, to get a smooth and flat seam ready for the final coats of compound. Patience and a steady hand are key to this step.
Lastly, apply a second thin layer of joint compound over the tape, then let it dry. Sand the areas lightly to create a smooth finish. By mastering the art of taping, you will create walls and ceilings that are seamless and reminiscent of professional handiwork. Precision, patience, and practice will lead you to a well-finished project you can be proud of.
How to Navigate Installing Drywall Around Wiring and Outlets
Working with drywall around wiring and electrical outlets adds another layer of complexity to the installation. However, with good planning and a careful approach, you can handle this like a pro. The key elements here are accurate measurements and precise cutouts to ensure the drywall fits snugly around these utilities.
Turn off the power for safety before starting any work near electrical components. Once your drywall is mounted, temporarily pull the wiring or outlet box through the cutout. This step prevents the wires from getting trapped behind the drywall, and it’s crucial in providing an accessible route to your outlets.
The cutting process for outlets requires a careful, steady hand. Remember to measure twice and cut once. Use a utility knife for smaller, more precise cuts, or a drywall saw where larger cutouts are needed. Ensuring precision in this step is important for the overall finish of your wall.
Once your drywall is in place, carefully push the outlets through their respective cutouts before fastening the drywall to the studs. Take the time to check step by step, and if everything lines up correctly, you have successfully navigated one of the trickier aspects of drywall installation. Remember, the finishing aesthetic of your drywall is directly proportional to the preparation and care taken during its installation.
Seam Working and Corner Finishing: Getting It Right
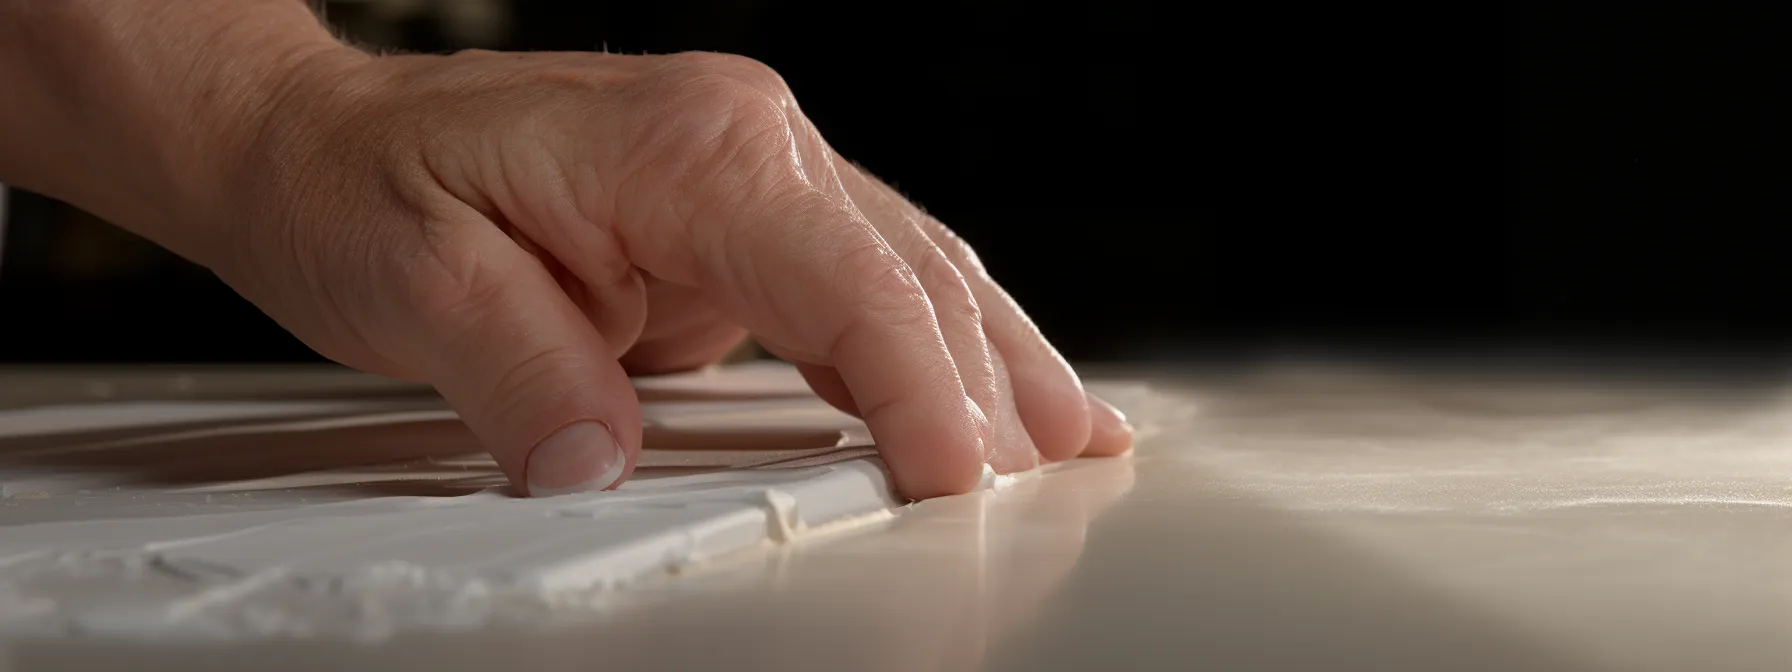
Working on seams and corners during a drywall installation project can be challenging, but with the right technique, you can get it right. This part of the project involves taping and mudding for a seamless finish, with extra focus on your wall corners. Getting the corners perfect directly impacts the final, professional appearance of your walls.
For inside corners, apply joint compound to both sides. Fold your joint tape down the middle and press it into the compound. Smoothing the tape from the corner out towards the edges ensures a clean, sharp corner. It requires a gentle touch to ensure the tape is bedded into the compound, but without tearing it.
Outside corners involve another essential component – the corner bead. This is a piece of trim that creates a smooth, hard surface along the corner, giving the drywall a sturdy finish. Make sure it’s securely attached since a loose corner bead can create cracking in your drywall finish over time.
Once your corners are set, you’ll focus on the seams. Apply thin layers of joint compound, smoothing it out along the seam for a seamless finish. It’s all about the smooth transitions here. Done right, you’ll achieve a flawless finish, giving your drywall installation project the look and feel of a professional job.
Comparing Drywall and Plaster: Things You Need to Know

When approaching a wall construction project, it’s valuable to compare drywall and plaster, since they are the two most commonly used techniques. Drywall installation tends to be quicker and less labor-intensive compared to plaster. This is one of the primary reasons it’s often the favored choice for both contractors and DIY enthusiasts.
On the other hand, plaster offers a more durable, solid finish. It’s resistant to knocks and bumps, and it provides better soundproofing. However, the application process of plaster over lath is more labor-intensive and can be quite messy. It also requires more skill to achieve a smooth finish.
Drywall, or sheetrock as it’s often referred to, involves attaching large sheets of gypsum board to the structure’s framing. The seams between the sheets are then taped and mudded to create a smooth, seamless appearance. This process is more uniform and easier to master for those stepping into the world of DIY wall construction.
Proper knowledge and training can make either method work for your project. Your choice between drywall and plaster will depend on what you prioritize—speed and ease of installation, cost, or durability and finish quality. While this guide focuses on mastering DIY drywall installation, understanding the advantages and drawbacks of either method can help in making informed decisions based on your project’s requirements.
Making the Decision: To Repair or Replace Drywall
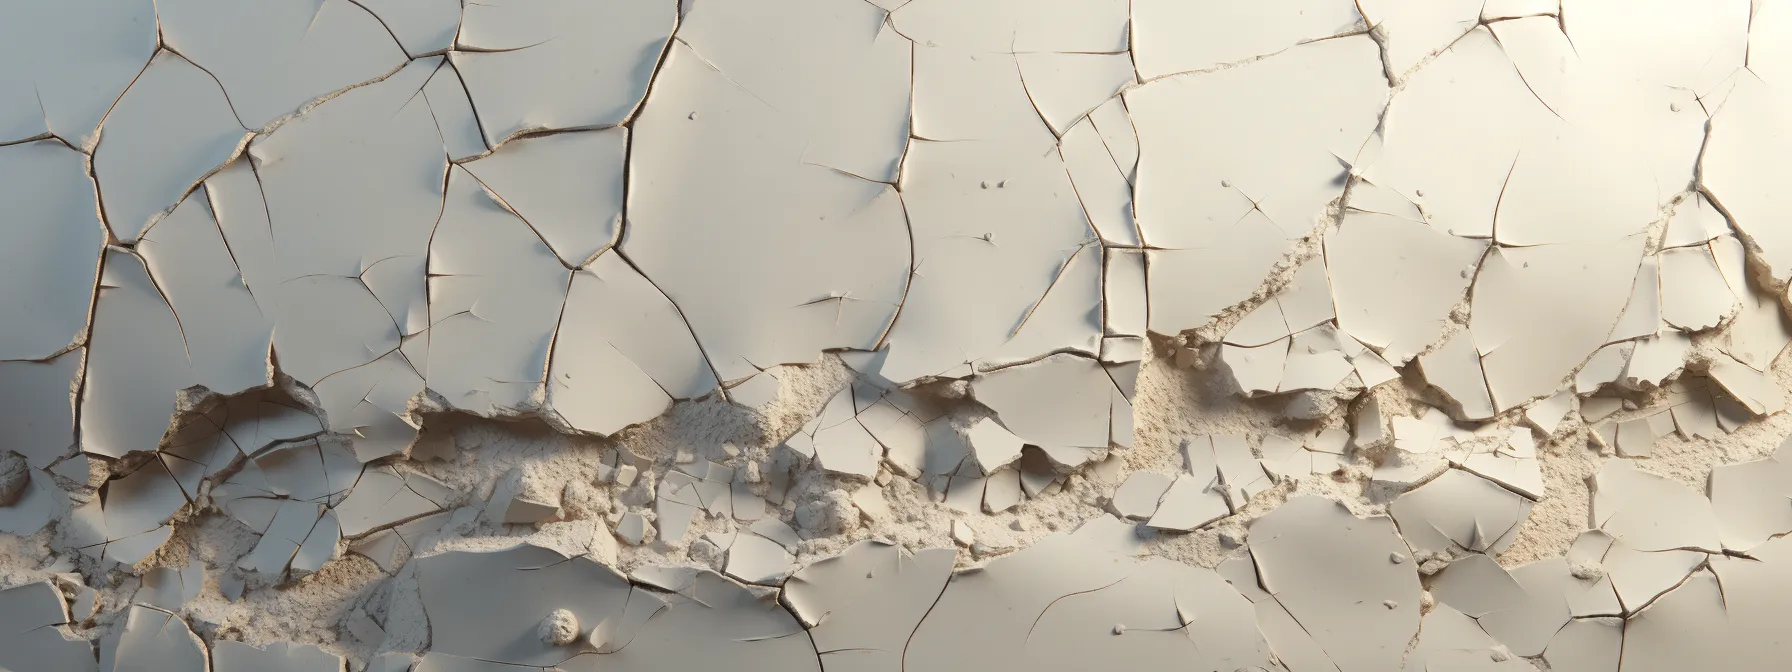
When confronted with damaged drywall, you might ask yourself: should I repair or replace it? The answer highly depends on the extent and type of damage. For instances of minor holes or cracks, a repair job using some joint compound or a patch kit can solve the problem efficiently and cost-effectively.
However, for severe water damage, significant mold growth, or large holes, a replacement might be a better course of action. Often, water damage weakens the integrity of the drywall, rendering it unstable and making it more susceptible to further damage. Similarly, it’s not worth risking health problems associated with mold by trying to repair instead of replace.
Keep one crucial factor in mind – the finished appearance of your wall. If a repair job cannot restore it to a near perfect state or if multiple repairs would make it visually unappealing, consider replacement. This decision becomes especially critical in parts of your home where aesthetics matter a lot.
To sum it up, the decision between repairing and replacing is case-dependent. Understanding the situation, the inherent damage, and desired outcome, can help guide the resolve. But remember, when in doubt, it might be best to consult a professional or skilled drywall installer before making a final decision.
Understanding Drywall Screw Placement: A Guide
Placing screws correctly during a drywall installation can have a significant impact on the final result. It’s about balance – too few screws and your drywall may not be secure, while too many can be overkill and lead to unnecessary work. Generally, a screw should be driven every six to eight inches along embedded edges and 12 inches on the central part of the drywall sheet.
Align your screws along the joist or backer to ensure they drive directly through the drywall and into the frame. This alignment not only ensures more robust support but also keeps the overall installation looking organized and professional. This is a step where accuracy matters – precision in screw placement can greatly enhance the finished product.
The depth of each drywall screw is also a critical factor to consider. Remember, we’re looking for a small dimple just below the drywall surface, not breaking the paper. Overdriven screws that tear the paper aren’t providing full support, and those lying above the surface can disrupt the smooth finish of the final coat of taping mud.
The final walk-away thought is to insert the screws straight and not at an angle. For a professional finish, avoid screws that are too close to the edge of the drywall panels, as they can cause crumbling or even result in a blowout. Practice and patience will lead you to master this aspect of drywall installation, adding another feather to your DIY cap.
Navigating the Differences: 1/4 and 3/8 Inch Drywall
Understanding the differences between 1/4 inch and 3/8 inch drywall is valuable when planning for your project. Each type has its unique benefits, and your choice between the two depends heavily on your specific requirements. While both are used for similar purposes, the physical characteristics and ideal application scenarios differ.
1/4 inch drywall is thinner and more flexible, often used when adding a layer over existing drywall or surfaces with curved design features. The flexibility it offers makes it a prime choice when needing to conform to slight curves or irregular surfaces. However, for a stronger, more rigid wall construction, this might not be your best bet.
On the other hand, 3/8 inch thickness is the standard for most residential wall installations. It offers a sturdier and more robust wall finish, and it’s more forgiving when it comes to hiding framing irregularities, which is particularly helpful in cases of remodeling older homes. This thickness adds rigidity and sound-proofing capabilities to your wall or ceiling.
Ultimately, the decision between 1/4 inch and 3/8 inch drywall boils down to the specifics of your project requirements. Whether you’re creating a new wall, remodeling an old structure, or adding detail to your interior design, understanding these differences can guide you in making a choice that will yield the best results.
Tips and Tricks From the Pros: Bonus Drywall Installation Advice
As we have navigated the world of drywall installation together, I’d like to share a few more pieces of advice from the pros. These tips might sound simple, but they can have a dramatic effect on the quality of your work. Remember to always handle drywall sheets carefully — they can be cumbersome, and rough handling can lead to damaged corners or edges that can affect your project’s final appearance.
Echoing a common theme from all our sections, measurements are critical. Accurate measurements not only save you time but save material and reduce waste. Practicing your measurements and even your cuts on extra or waste pieces can make your actual installation much smoother and more efficient.
Don’t overlook the importance of the right hardware and tools. A quality drywall saw, a low-speed, high-torque drywall screwgun, and a proper T-square can make a world of difference in the final outcome. Investing in good tools for the job can make the process quicker and ensure a more professional finish.
And finally, don’t be too hard on yourself. Perfecting drywall installation does not happen overnight — remember your first attempt might not be flawless. Don’t be discouraged; each time you engage in drywall installation, you gain invaluable experience. Use every opportunity as a learning curve, keep refining your skills, and soon enough, you’ll be completing your projects with the finesse of a seasoned pro.
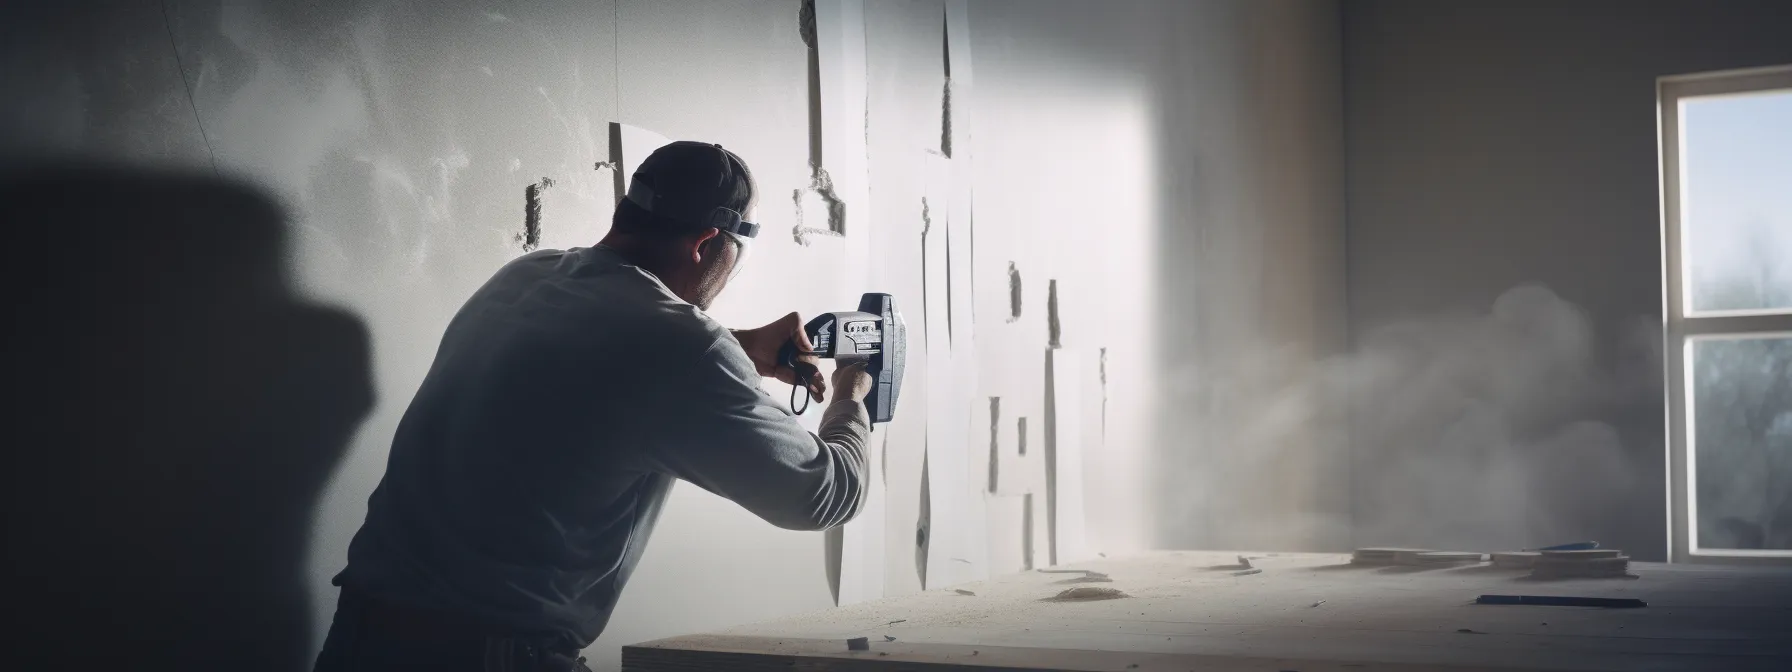
Cutting and Shaping Drywall: Essential Knowledge and Techniques
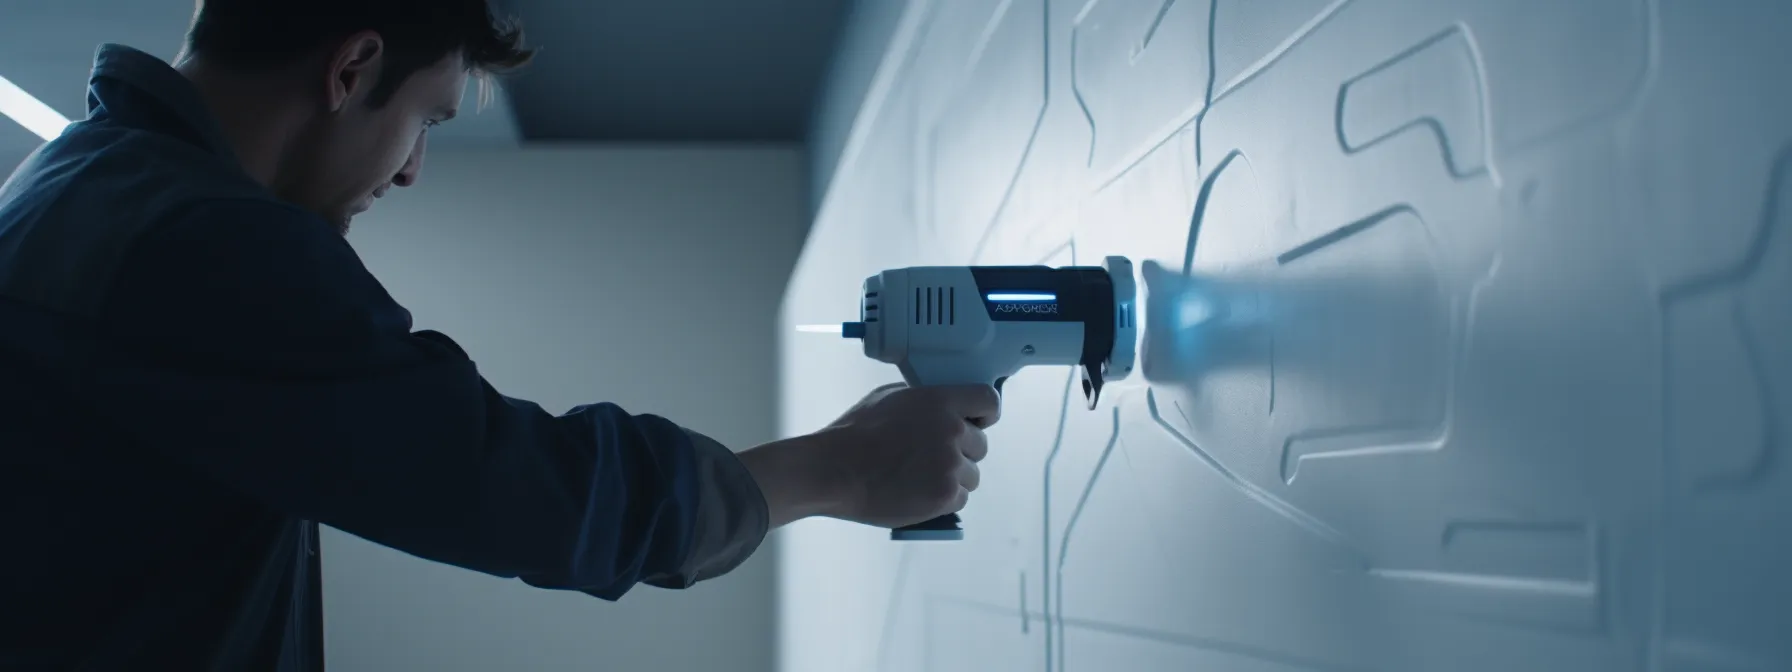
Mastering the process of cutting and shaping drywall is integral to a successful installation. Accurate cuts mean less wastage and a more professionally finished wall. A key tool in this process is a good quality utility knife. It’s relatively simple to use and can make precise cuts for introductions, corners or fixtures.
Drywall has a gypsum core, covered in thick paper, which needs different strategies at different stages of cutting. The first cut with a utility knife needs to just slice through the top layer of the paper and slightly into the gypsum. The precision of the first cut translates directly into the definition and shape of your end product.
Next comes the break. Snap the board back at the cut, and it should break cleanly and neatly. Follow-up by cutting the backing paper to complete the process. When handling cuts for switches, outlets or fixtures, always ensure the power is off before starting your work.
Shaping a curved edge involves a series of straight cuts, followed by a sanding process to smooth out the face and achieve the desired curve. Dedication to accuracy and detail at this stage will reflect in the overall finish of your drywall installation. The techniques may be simple, but it’s your application and precision that’ll elevate your drywall installation to the realm of pro-level workmanship.
Conclusion
Embarking on a drywall installation project is no small feat, but with ‘Mastering DIY Drywall Installation: A Comprehensive Professional’s Guide’ at your disposal, the process becomes more accessible.
This guide provides you with essential knowledge of drywall, detailed techniques for measurement, cutting, and installation while spotlighting critical areas like the right selection of tools, materials, and handling fixtures.
By mastering these techniques, you are not only enhancing your DIY skills but also creating solid, professional-looking walls for your home.
It’s an empowering journey, transforming you from a novice to a skilled do-it-yourselfer capable of managing a major home improvement task.
So, strap up your boots, ready your tools, because with this guide, you’re about to make your mark in the world of drywall installation.