At some point in your drywall installation journey you’re going to come across a butt joint or two.. This can be a frustrating problem at St Louis drywall we’re here to offer some suggestions.
When working with drywall you’re eventually going to encounter a butt joint. Trying to hide these inconvenient mounds is a frustrating part of the job.
While some will use a popular back-blocking technique to recess the drywall ends, the method tends to create more problems than its worth. In this guide we’ll guide you on how to finish these joints in a way that makes them almost invisible to the naked eye. – Just like the pros at St Louis Drywall
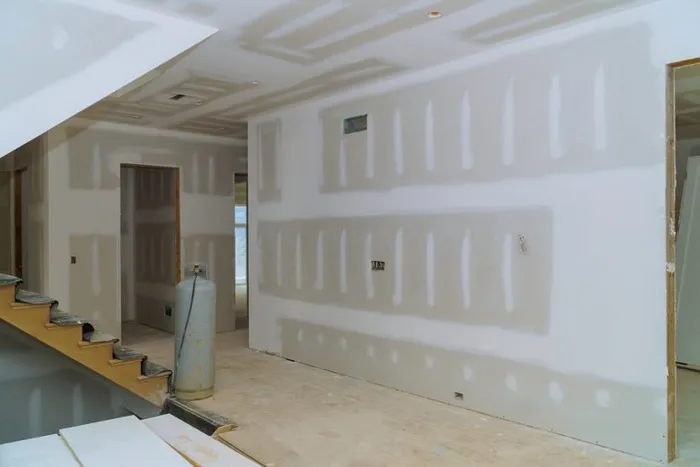
So what is a drywall butt joint?
It is a joint that is made when two pieces of drywall are installed next to each other and attached using drywall tape and joint compound. When installing drywall there are two types of joints: tapered joints and butt joints.
Tapered joints are formed when the longer sides of drywall are joined together. When looking at a piece of drywall panel, you will notice the edges are machined down in thickness which in turn creates a recessed area when the two similar edges are brought together. You can then tape and compound the edge while still maintaining a smooth flat surface.
Alternatively a butt joint is when two short sides of drywall are joined together. These ends are not tapered and are the same thickness as the rest of the drywall sheet. Because of the way they fit together it is difficult to complete them with tape and compound without a noticeable lump.
Some tips to get us started at home from St Louis Drywall Services
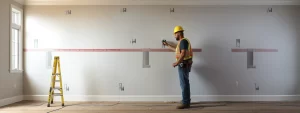
1: All fasteners must be countersunk
Before you start, ensure all your screw or nail heads within 12 inches of the butt joint are recessed at least 1/8 inch under the drywall surface. By making sure the fastner head is flush or protruding even a little, it will make it harder to create a gradual compound slope.
2: Use paper tape to cover the joint
Use a stronger fiberglass-mesh tape for tapered joints. However, for those butt joints, the thicker tape will result in bulges and unsightly texture pop out. Alternatively, use paper joint tape in these cases.
3: Apply a thin first coat of compound
With your 6-inch knife, cover the entire length of the tape with a thin and even layer of mud. Press hard to make sure there are no bubbles or gaps underneath the tape and be cautious not to tear it. Make sure to let it dry overnight.
4: Feather us out a second coat
With a 12 inch knife apply a second thin coat of compound to both sides of the joint, as you go feather the outside edges. Your goal is to get the mud from the second coat to overlap the mud from the first coat.
With the blade of the knife blend and smooth the mud with the drywall, making a small, gradual mound. Once again make sure the compound dries completely overnight
5: If necessary sand it smooth to finish repair
After the second coat has dried, it is time to smooth the surface making sure to remove any extra mud. Feather the edges of the mud into the wall. Be aware of the drywall paper and take extra care not to break it.
Once it all looks the job looks good to you, wash away the dust with a damp cloth. Then you can get ready for priming and painting.
Once it meets your satisfaction continue to wipe the wall
Once the second coat has dried, sand it to smooth the surface and remove any excess mud. Feather the edges of the mud into the wall, being extra careful not to dig into the drywall paper with the sander. Once it’s to your liking, clear the dust from the walls with a damp cloth before moving on to priming and painting.
Take on your next job like a pro with help from St Louis Drywall .
Call us for your free quote