Preventing Common Drywall Installation Mistakes: A Comprehensive Guide
Demystifying the process of drywall installation is crucial for any homeowner, DIYer, or budding handyman.
It’s a common building material that gives life to our walls and ceilings, yet many of us make serious mistakes during the process.
For example, do you know how to ensure proper edge support or mark your stud locations correctly?
This comprehensive guide brings you the necessary insights to avoid common pitfalls and ensure a seamless finish on your next drywall project.
So, brace yourself as we commence our journey through the world of drywall installation and repairs.
Keep reading to uncover these hidden gems of knowledge.
Understanding Drywall and Its Importance

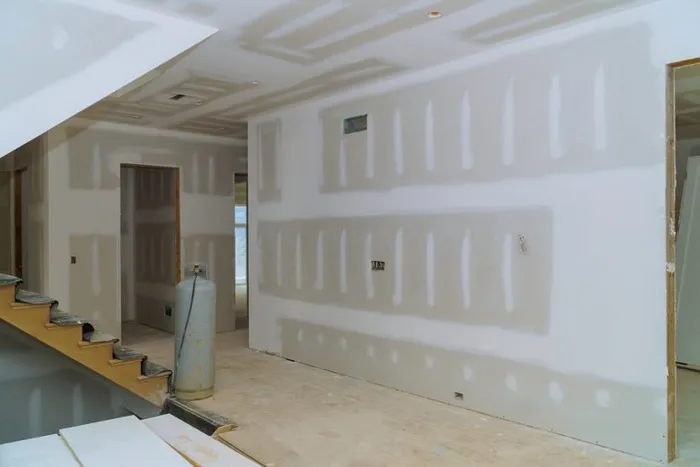
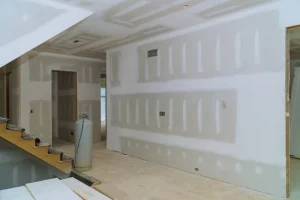
Imagine strolling through a home; what do you see? The walls, the ceilings – they’re taken for granted, but they’re essential to our comfort and safety. This is where drywall comes into the picture. Drywall, also recognized as plasterboard or gypsum board, is the unsung hero behind your smooth, robust indoor walls and ceilings.
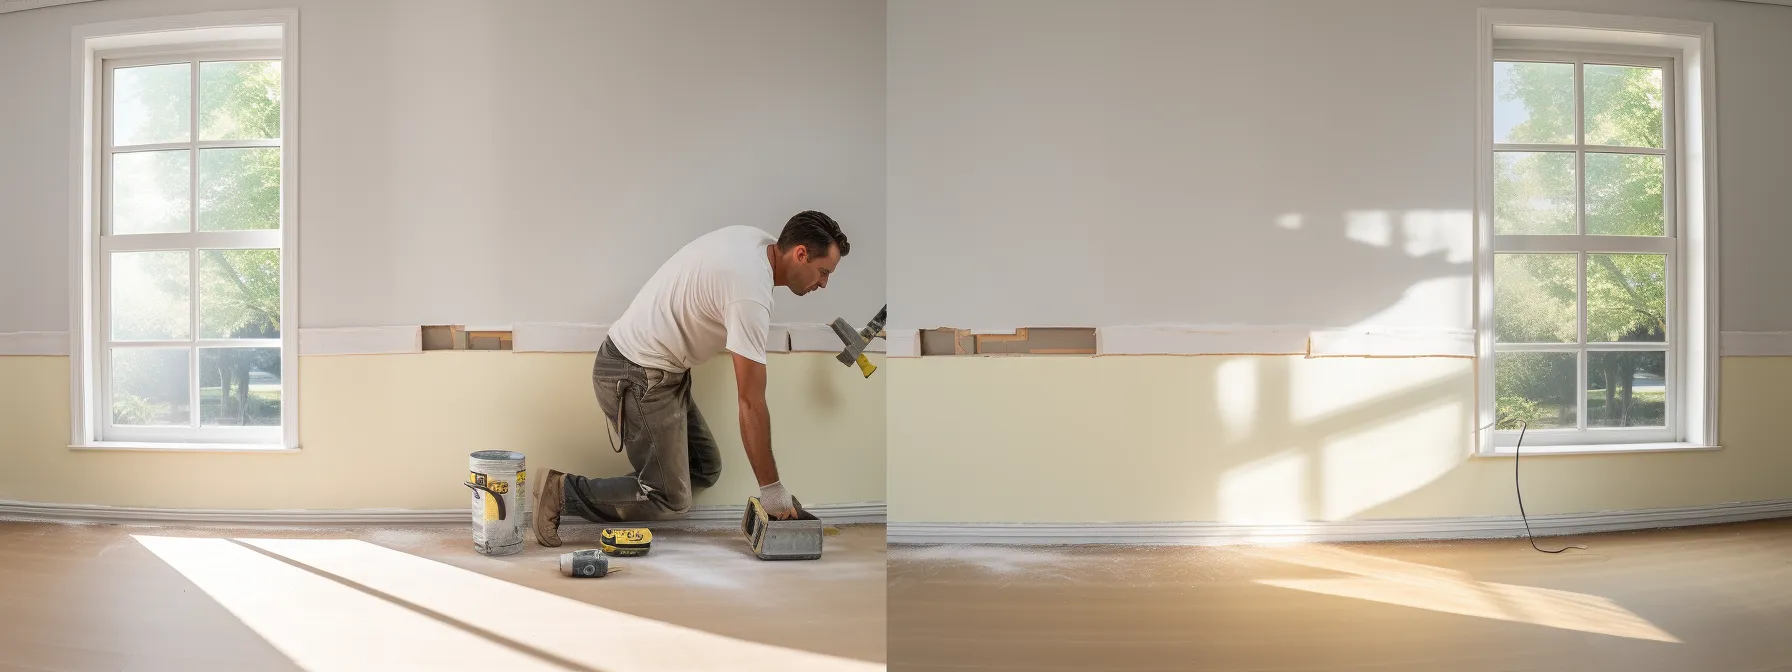
Installing drywall involves a stringent process that includes strategic measuring, precise cutting, secure attaching, diligent taping, and meticulous finishing. The end goal is to create an immaculate and uniform surface, which can be quite a challenge for any handyman – be it a seasoned installer or an ambitious DIYer.
There are different types of drywall sheets available such as standard, moisture-resistant, and fire-resistant. The choice largely depends on the specific room requirement and local building codes, which brings us to the tools and materials needed for the task. You’re likely to see a variety of tools, including utility knives, saws, drills, and taping knives, plus materials like joint compound and tape, when undertaking a drywall project.
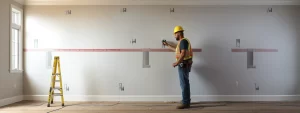
Awareness of these tools and the technique of using them defines the skill and expertise of a drywall contractor. The success of drywall installation lies in the details – the precision in cutting and fitting, ensuring edge support, accurate fastening using drywall screws to stud locations, avoiding overexertion, and consistent finishing. Any deviation can lead to drywall problems such as nail pops, water damage, or imperfect drywall joints which might need immediate drywall repair.
Basics of Drywall Installation Process
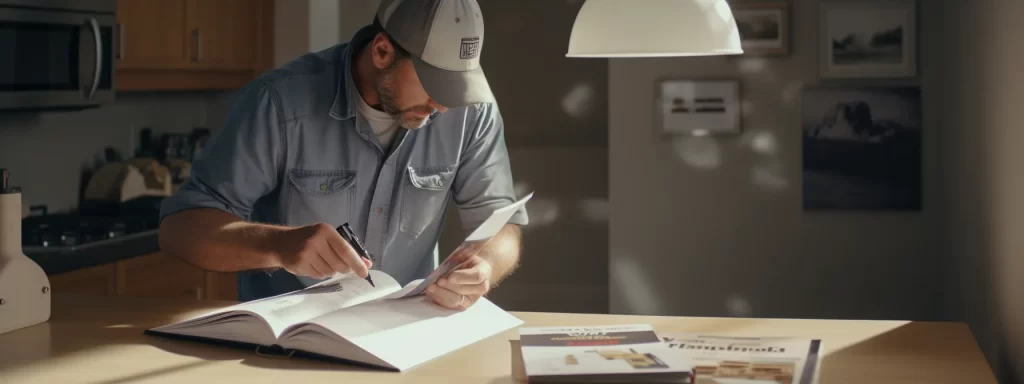
The drywall installation process is an art in itself – meticulous and demanding attention to detail. The journey starts with a fair understanding of the blueprint of the room, knowledge of stud locations, and calculated measurement of the wall or ceiling area where the drywall will be installed. A simple miscalculation can result in a wastage of resources or, even worse, a faulty installation.
Having taken the accurate measurements, it’s time to cut the drywall sheet with the utility knife. Precision is the name of the game here; remember, a mistake not only leads to the waste of materials but can also create a drywall problem, affecting the aesthetics of your space. Hence, cutting should be precise, ensuring edge support, with outlets and receptacles well accounted for to avoid any hindrances during the installation.
We now move towards securing the drywall panels to the wall framing or ceilings using drywall screws. Fastening needs to be done carefully, ensuring not to overexert. Overdriving screws might lead us to our common nemesis – nail pops, a nagging drywall problem that would need a good amount of time and material for drywall repair.
Once the drywall is securely placed, we turn to the art of taping and applying the joint compound to create a seamless surface. This is followed by sanding using various grits of sandpaper to smoothen out any blemishes remaining on our newly installed drywall. Finally, after the dust has settled (quite literally), it’s time for professional or DIYer carpentry to take over for further finishing – but that’s a story for another day.
Common Mistakes During Drywall Installation
As a professional drywall installer, I’ve seen my fair share of drywall mistakes. Many of these errors have a common premise – underestimation. The process might look simple on paper, but each step is rife with potential pitfalls that can lead to headaches down the line.
For instance, one prevalent mistake is improper planning and measurement, leading to a wastage of materials or a misfit drywall sheet. Another sneaky problem is overexertion during the fastening process. This can lead to a concerning issue known as nail pops, where your fasteners protrude out from the wall, disrupting the smooth finish and necessitating drywall repair.
Taping and mudding (applying joint compound) is another aspect where blunders are frequently encountered. Applying too little or too much mud or not feathering the tape can result in visible joints and corners – not something you aim for when you strive for a seamless finish. Neglecting to properly install corner bead can also result in unsightly, uneven corners.
Lastly, sanding is where many DIYers falter. Sanding off too much joint compound can expose the paper face of your drywall and create an uneven surface, while not sanding enough leaves a rough finish. Using the correct sandpaper grit and technique is essential to prevent these mishaps and achieve the flawless wall or ceiling you envisage.
Preventive Measures for Edge Support Issues
Edge support is a key factor in preserving the durability of your drywall installation. If overlooked, it can cause issues such as sagging or bulging of the drywall panels, compromising the visual appeal of your walls and ceilings.
To prevent edge support problems, the first crucial step is to ensure your drywall panels are attached to a solid backing. If the layouts are planned efficiently, the edges of the wallboard panels would ideally meet at a stud location, providing that much-needed support. In scenarios where this cannot be achieved, installing additional backing in the form of nailing blocks between studs can offer a solid resolution.
One should also be cautious while cutting the drywall sheets. Always cut keeping in mind that the edges need to align perfectly with the framing member or wall studs. An ill-cut sheet can leave unsupported edges hanging, prompting a headache of a repair down the line.
Lastly, attention needs to be given while installing the drywall screws. Ensuring the screws are evenly spaced and not driven too deep into the panel can resist the occurrence of nail pops. Remember, installing the screws shallowly may not hold the drywall panel firmly, while driving them too deep can damage the paper face, affecting the integrity of your installation.
Correct Procedure for Marking Framing Locations
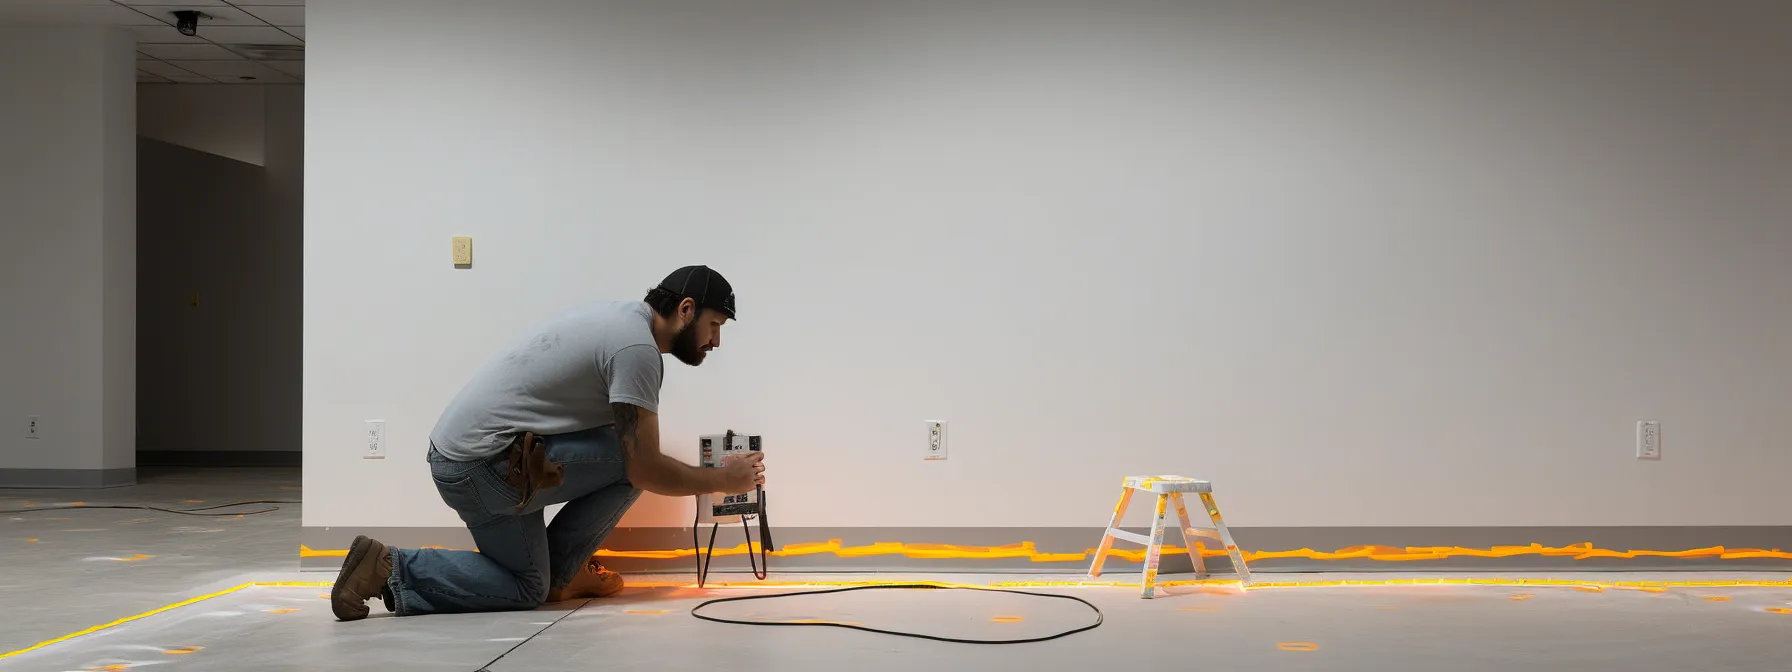
Let’s talk about marking the framing or stud locations, one step in the drywall installation process that’s often hurried through but deserves due diligence. An inaccurate marking could lead to miss-driven nails or screws, causing potential nail pops and even damaging the structural integrity of the installed drywall.
A good rule to follow during the marking process is to measure twice and mark once. This age-old adage holds valid even in these times of advanced tools. A simple measuring tape and a pencil can serve as the best companions to ensure you’ve mapped the correct locations of your studs.
Once you’ve taken the measurements, it’s essential to continue by marking these measurements on the floor and ceiling. This will serve as a guide when lifting the large and relatively unwieldy drywall sheets. The goal is to align these markings with the edges of your panels to ensure the screws fasten to the studs and not just the open air.
Keep in mind that the power of precision in the marking process cannot be overstated. Accurate marking spirals into accurate cutting, precise screw installation, and overall enhanced drywall adherence. This results in an installation where “edge support issues” or “nail pops” become terms you only read about but never experience.
Avoiding Tapered Edges Misstep in Drywall Installation

Tapered edges – a unique feature of drywall panels, designed with a view to help seamlessly blend one panel with the next. However, poor handling or cutting of these tapered edges could potentially result in visible joints and imperfect finishes, the very things we aim to avoid when installing drywall.
One common misstep during the cutting process is failing to maintain the tapered edges. When marking for cuts, it’s important to plan such that the edges of the panel which will meet other panels retain their factory-made taper whenever possible. This allows for the joint compound to smoothly fill in the gap and offer a seamless finish.
Another critical aspect to remember is that the tapered edges should only be joined with other tapered edges. Why you ask? Joining a tapered edge with a cut end, or butt-end, can make mudding and taping difficult, resulting in visible drywall joints that mar the overall aesthetic appeal of your wall or ceiling.
The beauty of drywall installation lies in the details. Ensuring correct treatment and alignment of tapered edges will not only make your final mudding and taping work easier, but it will beautifully conceal the fact that your smooth wall is actually an assembly of individual drywall panels.
Importance of Fitting Drywall Before Fastening

A common error I’ve witnessed in amateur drywall installations is the rush to fasten the drywall panels without first ascertaining their proper fit. Skipping this crucial step can result in visually unsettling imperfections or costly repairs down the line. Hence, it’s paramount to fit the drywall before reaching for those drywall screws.
Upon cutting the drywall panel to size, the first move should be to ensure that it fits perfectly in its intended space. This involves checking that the panel aligns with the framing or stud locations, the edges comply with the planned layout, and the cut-outs match with the outlet boxes or any other wall features.
Fastening should only follow once you’ve confirmed an accurate fit. This allows for a one-time placement and fastening, reducing the back and forth and the potential for accidental damage to the panels, and your patience. Trust me, nothing could be more vexing than realizing that a hastily fastened drywall panel does not perfectly fit its allocated space.
In the realm of drywall installation, patience indeed is a virtue. It’s the meticulous planning and execution of each step, including the fitting and fastening, that distinguishes a novice DIYer’s handiwork from a seasoned drywall installer’s masterpiece.
Tips to Avoid a Faulty Drywall Joint Installation

Drywall joints – the silent ambassadors of a well-executed drywall installation. When handled with care, they remain unnoticed, seamlessly blending one panel with the next. However, faulty installation can turn these delicate transitions into glaring eyesores demanding immediate repair attention.
First off, it is crucial to ensure that the end joints do not occur over a door or window. Why? This area of a wall often experiences movement causing the joints to crack. In such scenarios, it is wise to use an extra-long drywall panel or install horizontal drywall, minimizing the chance of a joint falling over these areas.
The tape and mud application over the joints demand patience and precision. A common mishap is applying too much or too little joint compound, resulting in a rough or noticeably protruding joint. Remember, the Goldilocks principle applies here – not too much, not too little, but just the right amount of mud works wonders.
Lastly, let’s address an often-overlooked joint – the corner bead. This handyman’s friend ensures a crisp, unblemished corner. However, improper fastening or not checking the alignment can result in a misshapen or damaged corner. A keen eye and measured actions can eliminate any potential corner bead mishaps, maintaining the aesthetics of your drywall installation.
Conclusion
In the realm of drywall installation, precision and attention to detail are more than just ideal practices – they are prerequisites for a successful project.
The intricacies of the process, from cutting and fitting to fastening and joint sealing, all contribute to the final, flawless surface.
This is where understanding and preventing common drywall installation mistakes come in.
By arming yourself with the knowledge and best practices shared in this comprehensive guide, you can avoid costly and time-consuming repairs, ensure compliance with local construction norms, and ultimately, elevate the aesthetics and structural integrity of your space.
Remember, quality drywall installation is no accident, but a result of meticulous planning and execution.